How to Calculate the Power Supply for LED Strip Lights: A Step-by-Step Guide
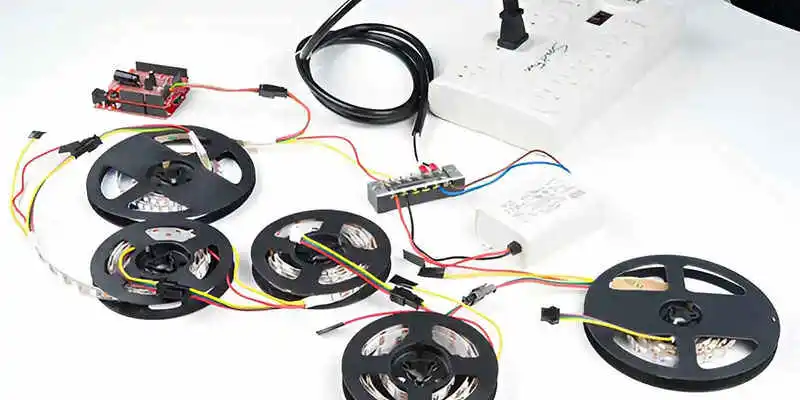
Whether you’re lighting a retail space, upgrading ambient lighting at home, or installing LED strip lights for architectural features, the power supply is the backbone of your setup. Pick the wrong one, and you could face flickering, overheating, shortened LED lifespan, or worse, total failure.
An LED strip’s performance, brightness consistency, and safety all hinge on using the correct voltage, wattage, and type of power supply. Let’s walk through how to choose it right from the start.
Step 1: Voltage Compatibility (12V/24V/36V/48V)
Before you can choose the right power supply, you need to know the voltage rating of your LED strip. Most LED strips run at either DC12V or DC24V. And your Power Supply for the LED Strip must match this value.
For example, if your LED strip is 24V DC, only use a 24V DC power supply.
You can usually check the strip specification or find this information printed directly on the LED strip—look for “12V” or “24V” near the copper cut points. If it’s not marked, a helpful clue is the number of LEDs per cut segment: 3 LEDs per segment often indicate 12V, while 6 LEDs per segment typically suggest 24V.
Matching the voltage is non-negotiable. A 12V strip connected to a 24V power supply will likely burn out instantly, while a 24V strip connected to a 12V supply won’t light up properly, if at all. Voltage mismatches can also cause flickering, overheating, or permanent damage to your LEDs. Always double-check the specs before moving on to the next step.
Step 2:Measure the Total Length of Your LED Strip Run
After confirming the voltage, measure how long the LED strip you’ll need for your project. Add up the lengths of all areas where you’ll install lighting, including corners and curves.
Be aware of your LED strip’s maximum run length—usually around 5 meters for 12V and up to 10 meters for 24V. Exceeding this limit in a single continuous run can lead to a voltage drop, where the LEDs at the far end appear noticeably dimmer. If you need to go beyond the max run, plan for power injection points or use multiple parallel connections to maintain consistent brightness throughout.
Accurate measurement helps ensure you buy the right amount of strips and choose a power supply for the LED strip that delivers steady performance.
Step 3: Calculating Total Power Requirements
Once you know the power consumption per meter and the total length of your LED strip, calculating the total power needed is straightforward. Simply multiply the watts per meter by the total length.
Here’s a simple formula:
Total Wattage Needed = (Wattage/meter) × (Total meters used)
For example, if your LED strip consumes 12 watts per meter and you need 6 meters, the calculation would be:
12 watts × 6 meters = 72 watts.
This gives you the total power requirement for your LED installation. It’s a crucial step in selecting the right power supply for led strip lights, ensuring it can handle the load without issues.
Step 4: The 20% Rule – Adding a Safety Margin
When selecting a power supply for led strip light, it’s crucial to account for a safety margin. A good rule of thumb is to choose a power supply with a wattage rating at least 20% higher than the total wattage of your LED strip. This extra capacity ensures your power supply operates efficiently without overheating or failing prematurely.
To calculate this safety margin, divide the total wattage by 0.80 or multiply it by 1.2。
For example, if your LED strip requires total power of 72 watts, then the power supply you need of at least 86.4 watts (72 ÷ 0.80) would be appropriate
Since power supplies come in standard increments, you’ll need to round up to the nearest available option. In this case, a power supply rated for 90 watts or higher would be ideal, ensuring reliable performance and durability.
Step 5: Consider the Power Supply Type
Choosing the right type of power supply is just as important as calculating wattage. Your installation environment, control needs, and safety requirements all play a role in determining which power supply is best suited for your LED strip lighting setup. Here’s a quick breakdown of the most common types
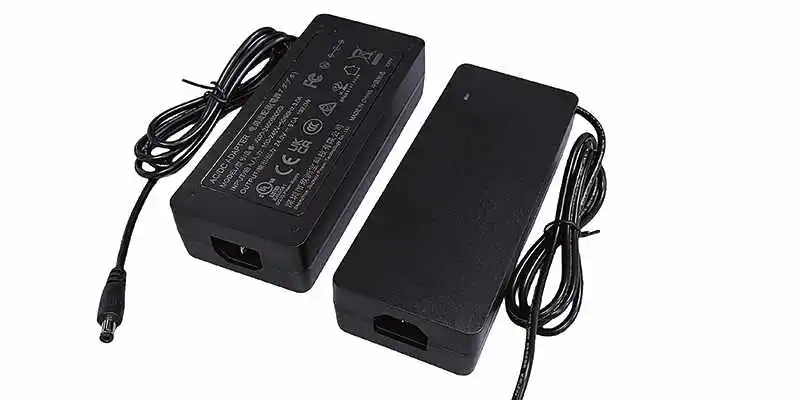
Plug-in (Desktop) Power Supply
These are ideal for simple plug-and-play applications, especially for short LED strip runs in residential or temporary setups. No wiring is required—just plug it into a wall outlet and connect it to your strip.
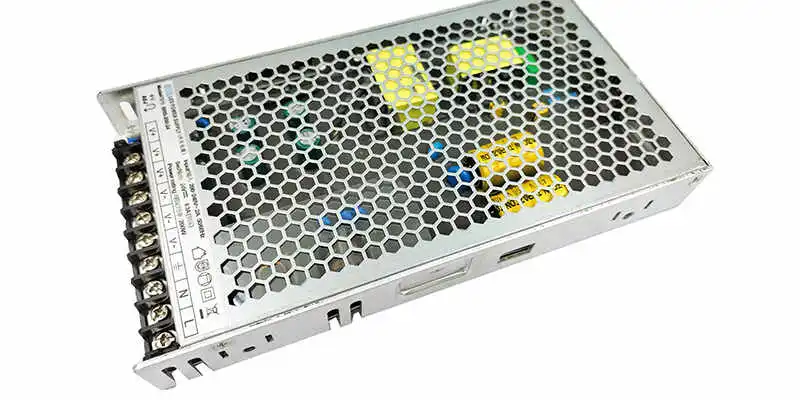
LED Transformer (Non-waterproof Power Supply)
Used for more permanent or commercial installations, these drivers are typically mounted inside junction boxes and wired directly to AC mains. They offer greater stability and are better suited for longer strip runs.
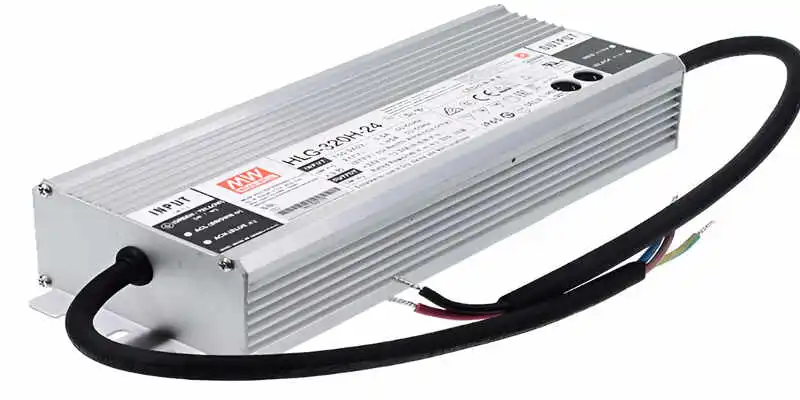
Waterproof LED Power Supply
Designed for damp or wet locations, such as bathrooms, kitchens, outdoor signage, or garden lighting. These come with sealed enclosures rated IP67 to prevent water ingress.
Rainproof LED Power Supply
Ideal for semi-outdoor environments where there’s occasional water exposure (like under eaves or in sheltered outdoor areas). These offer a balance between cost and weather resistance.
Dimmable LED Drivers
If you’re integrating your LED strips into a lighting control system or want adjustable brightness, opt for dimmable drivers. Available in TRIAC (leading edge), 0-10V, and DALI versions depending on your dimming method and control system.
Bonus Tip: Plan for Voltage Drop
Voltage drop is one of the most common challenges when working with longer runs of LED strip lighting. It happens when the voltage decreases over distance, causing the LEDs furthest from the power supply to appear dimmer than those closer to it. This not only affects visual consistency but can also shorten the lifespan of the LEDs.
To solve this:
- Use thicker gauge wires. Lower resistance wires (like 16 AWG or thicker) help maintain consistent voltage over long distances.
- Add power injection at the middle or end. Instead of relying on a single power input at the beginning, inject power at the midpoint or end of the strip. This helps balance voltage across the entire run.
- Distribute multiple power supplies in large installations. For large installations, splitting the load between multiple power supplies prevents overloading and keeps brightness levels uniform
Troubleshooting Power Supply Issues
-
- ❌ Choosing a supply that’s just enough without a safety margin
- ❌ Mixing voltages (e.g. 12V strip + 24V driver)
- ❌ Ignoring total length and not accounting for voltage drop
- ❌ Overloading the power supply
- ❌ Not considering dimming compatibility
- ❌ Reversed polarity at connection points
- ❌ Inconsistent power distribution
Conclusion
Selecting the right power supply for LED strip lights isn’t just about matching numbers—it’s about ensuring long-term performance, safety, and reliability. Start by confirming your strip’s voltage, then carefully calculate your total power needs and apply a 20% safety buffer to avoid overloading. Don’t forget to verify current requirements and choose a power supply that exceeds both wattage and amperage demands.
Also, consider the installation environment: Will your lights be used indoors or outdoors? Do you need dimming functionality? Is the power supply protected against water, dust, or heat? All of these factors play a crucial role in system stability and performance.
By following these essential steps, you’ll avoid common pitfalls like flickering, voltage drop, or premature power supply failure—and enjoy a clean, dependable lighting setup that lasts.