How to Cut and Install 220V LED Strip Lights
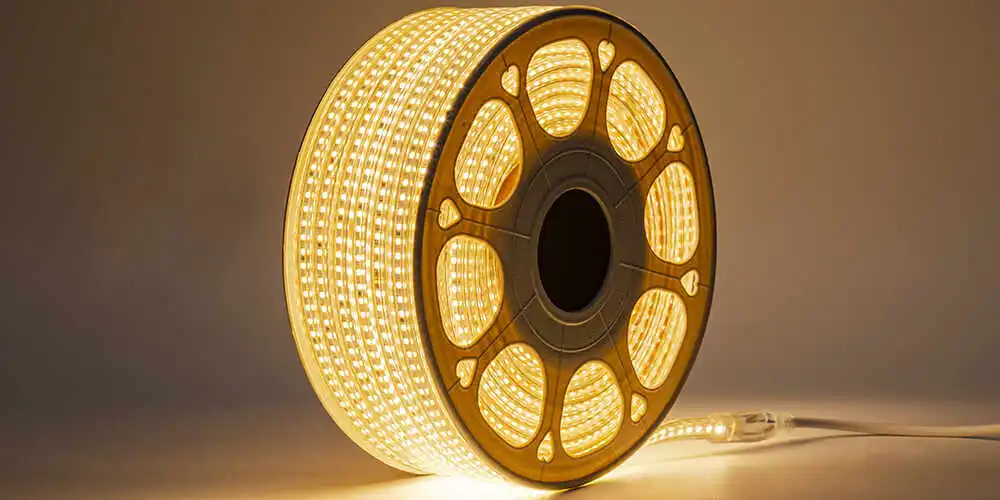
High voltage LED strip lights are widely used for long lighting runs, architectural outlines, commercial decoration, and outdoor projects. Compared with low-voltage LED strip lights, they can cover longer distances with fewer power supply points, which makes them attractive for installers and project buyers alike.
At the same time, installation needs a little more care.
Because this is a high-voltage product, the connection method matters just as much as the strip itself. A clean cut, correct pin alignment, and proper insulation all affect whether the strip will work safely and reliably after installation. Many problems that appear later do not come from the LED strip itself. They usually come from one small mistake made during the connection.
The good news is that the installation process is not complicated once the order of steps is clear. In this guide, we will walk through how to install high-voltage LED strip lights step by step, based on the installation method.
What You Need Before Installation
Before you start, prepare the strip and all matching accessories first. This makes the installation smoother and helps avoid unnecessary mistakes halfway through the job.
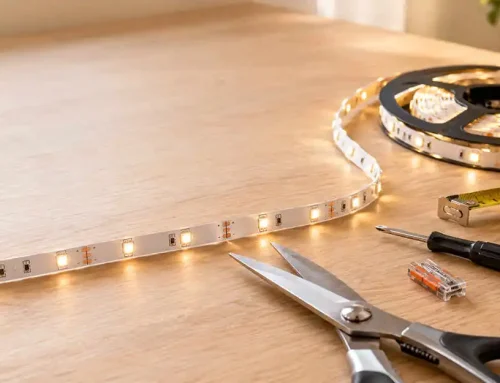
You will usually need:
110V / 220V LED strip light
matching power cord and pin connector
scissors or a sharp cutter
insulating tape
protective sleeve or end cap if required
a clean, dry, and stable work surface
Just as important, make sure the power is off before you begin. This should never be treated as a casual detail. Since the strip operates on high voltage, the installation should always be handled carefully. If the project is large or the installation environment is complex, final connection should be checked by a qualified electrician.
What this says about the industry
The failed products were concentrated in cities such as Zhongshan, Shenzhen, Jiangmen, and Foshan. But this should not be seen as a simple regional issue. It reflects a deeper problem that has existed in the lighting industry for years.
The barrier to entry is low, and price competition is relentless.
A large number of small and medium-sized companies survive by competing almost entirely on price. Once price becomes the main selling point, something has to be cut. In many cases, that means lower-grade materials, weaker process control, less testing, and fewer quality checks.
The result is a familiar cycle:
lower prices lead to lower standards, and lower standards create more quality and safety risks.
What is especially striking is that the online failure rate exceeded 75%. This suggests that the lowest-price battleground has shifted heavily to online B2C channels, where speed and price often take priority over product integrity.
And this is not just a small-factory issue.
Several products from better-known brands were also found to be non-compliant. That tells us something important: quality risk is not defined by brand size alone. Under OEM and ODM models, if a brand does not maintain strong control over its manufacturing partners, even established names can fail.
Step 1: Cut the Strip at the Marked Cutting Point
The first step is to cut the strip only at the designated cutting point.
As you may notice, this type of 220V LED strip has a clear scissor mark. In this example, the cut point appears every 1 meter. That means you cannot trim it freely at any length you want. You have to follow the marked interval.
This is important because the internal circuit is designed in fixed working sections. If you cut between those sections, you may damage the strip and make part of it unusable.
Before cutting, measure the installation area carefully and choose the closest permitted cutting point. A correct cut here makes the rest of the installation much easier.
Step 2: Trim and Prepare the Copper Connection Area
After cutting, check the end of the strip and prepare the exposed copper connection area.
The purpose of this step is simple: the connector pins must make proper contact with the copper conductors inside the strip. If the copper area is not exposed cleanly, the electrical connection may be weak or unstable.
This step should be done carefully. You only need to prepare the connection point so the pins can enter correctly. Do not cut too deep, and do not damage the internal structure of the strip while trimming the end.
A clean connection area gives you a much better chance of getting a stable result the first time.
Step 3: Align the Pins with the Copper Wires
Next, take the power connector and line up the pins with the copper conductors inside the strip.
This is one of the most important parts of the whole installation process. The pins must go into the copper connection area. They should not be forced into the LED chips or into the wrong position inside the strip.
If the alignment is wrong, the strip may not light up at all. In some cases, the strip may be damaged during insertion. That is why it is worth slowing down here and checking the position carefully before pushing the connector in.
A few extra seconds at this step can save a lot of frustration later.
Step 4: Insert the Strip into the Connector in the Correct Direction
Once the pins are aligned, insert the strip into the connector in the correct direction.
The connector and the strip are shaped to fit together in a specific way. As shown in the image, the strip should follow the correct orientation and slide into the connector naturally. Do not force it in from the wrong side.
If the fit feels awkward, stop and recheck the position. A proper installation should feel controlled and accurate, not forced. When the direction is right, the strip and connector will sit together much more securely.
This also helps reduce the risk of poor contact or loose connection later.
Step 5: Match the Four Pins with the Connector Holes
At this stage, the four pins need to line up with the corresponding holes inside the connector.
This is another accuracy step. If the pins are not properly aligned, the connection may be incomplete. That can lead to flickering, unstable lighting, or complete failure to power on.
Push the connector in carefully until it sits firmly in place. The connection should look even and secure. If it appears crooked or partially inserted, it is better to fix it now before moving forward.
A neat connection is not just better mechanically. It is also much more reliable electrically.
Step 6: Secure the Connection with Insulating Tape
Once the connector is installed, wrap the connection area with insulating tape.
This step adds extra stability and protection. It helps keep the connector firmly in place and reduces the risk of movement during handling or installation. It also adds an extra layer of insulation around the joint.
Even if the strip already lights up during testing, do not skip this step. A connection that works for a few minutes is not the same as a connection that remains stable after installation.
For high-voltage LED strip lights, good insulation is part of good installation practice.
Step 7: Install the Protective Sleeve or End Cover
the next step is to fit the protective sleeve or end cover over the connection section.
Depending on the strip design, this may be a transparent protective sleeve, a soft cover, or an insulating end cap. The purpose is to protect the connected part of the strip and give the finished installation a cleaner appearance.
This step is especially important for exposed installations, decorative commercial projects, or any environment where the strip may be touched, moved, or seen directly.
A properly fitted sleeve or cover makes the installation look more finished and helps protect the connection at the same time.
Step 8: Connect to Power and Test the Strip
After the connector is secured and protected, connect the strip to the power source and test it.
Check whether the strip lights up evenly and whether the connection remains stable. If the strip does not light, disconnect the power first and inspect the pin alignment, insertion depth, and copper contact position.
Do not keep adjusting the strip while it is live.
This final test is the point where you confirm that the strip is ready for use before final mounting. If something needs correction, it is always easier to fix it now than after the strip has already been installed in place.
Common Mistakes to Avoid
Most installation issues come from a few very common mistakes.
One is cutting the strip at the wrong place. Another is inserting the connector pins into the wrong position. Some users push the connector in without checking alignment first. Others skip insulation or protective covering because the strip seems to work during a quick test.
There is also a very common misunderstanding: people assume that if the strip turns on once, the installation must be correct. That is not always true. A poor connection may still light up at first, then become unstable later.
So while the steps themselves are simple, careful execution still matters.
Conclusion
Installing 220V LED strip lights is not difficult, but it does require attention to detail.
The process works best when done in the right order: cut only at the marked point, prepare the connection area carefully, align the pins correctly, insert the connector in the proper direction, secure the joint, and test the strip before final use.
When those steps are followed properly, installation becomes easier and the strip performs more reliably over time.
For long-run decorative lighting and architectural projects, 220V high voltage LED strip lights can be a practical solution. The key is not just choosing the right strip, but installing it the right way from the start.