How We Control Quality in LED Strip Manufacturing
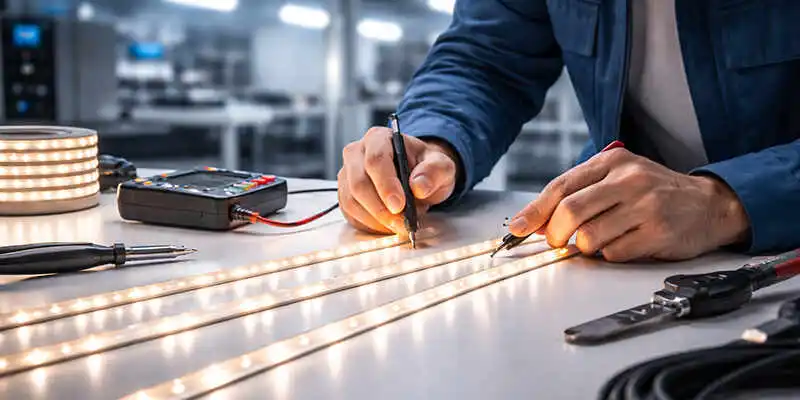
When buyers compare LED strip lights, they often focus on price, wattage, lumen output, or warranty. Those factors matter, but they do not tell the full story. In real projects, long-term reliability is usually decided much earlier.
It starts inside the factory.
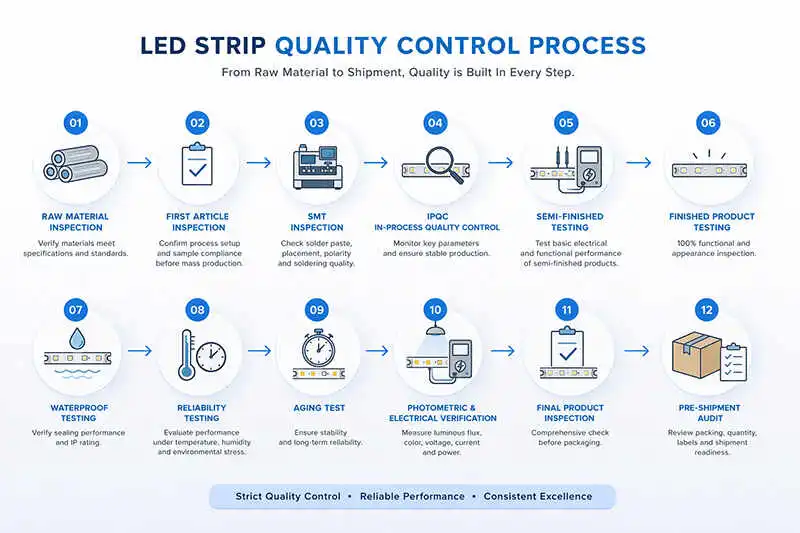
At Sunroleds, we do not treat quality control as a single check at the end of production. We build it into the full process, from incoming material inspection to final shipment review. Each control point helps reduce hidden risk, improve batch consistency, and support stable performance in real use.
What follows is the quality control process behind our LED strip production, and why each step matters.
1. Raw Material Testing
Reliable LED strips start with reliable materials. If the raw materials are unstable, later inspections can only do so much.
Our team checks every key material before production begins. That includes LED light sources, PCB or FPC boards, ICs, resistors, connectors, wires, silicone, adhesive materials, 3M tape, and housings.
For LEDs, we verify color temperature, brightness consistency, color rendering performance, color tolerance, forward voltage, current characteristics, and batch consistency. Small variation at this stage can turn into visible color difference, unstable output, or early failure later on.
For PCB and FPC materials, we check width, thickness, copper thickness, pad accuracy, circuit integrity, and flexibility. These details directly affect soldering quality, conductivity, heat control, and long-term stability.
Supporting materials matter just as much. Weak connectors, poor adhesive backing, or unstable silicone can damage a good design. In many failed products, the first weak point is not the LED itself. It is the material around it.
IQC keeps unstable materials out of production before they create larger problems downstream.
2. First Article Inspection
Mass production should never begin with guesswork.
At the start of SMT production, we assemble the first board and inspect it before the line moves into full output. That first board tells us whether the process is ready.
We confirm LED polarity, component position, LED alignment, and solder joint quality. After reflow, we also check for missing parts, wrong parts, reversed parts, yellowing, blistering, and cold solder joints.
A small error at the beginning can spread across the entire batch very quickly. It is far easier to stop one wrong board than to rework hundreds later.
Only after the first article passes inspection does volume production begin.
3. SMT and Soldering Process Inspection
A good first board is only the starting point. The real challenge is holding the same standard once production speeds up.
During SMT and soldering, our team inspects soldering quality, component placement, LED alignment, and overall board condition. We also watch for weak joints, poor wetting, insufficient solder paste, polarity errors, discoloration, and blistering.
Soldering quality is especially critical. Weak joints, insufficient solder paste, poor wetting, or unstable reflow performance may not always cause immediate failure, but they often reduce electrical stability, affect heat dissipation, and shorten product life over time. In LED products, problems like these rarely stay hidden forever. They usually show up later as intermittent failure, overheating, or early loss of reliability in the field.
We also look closely for common assembly defects such as missing parts, incorrect placement, polarity errors, cold solder joints, surface discoloration, blistering, or other abnormalities that may appear during or after reflow. What matters here is not only finding defects, but keeping the production process itself under control from board to board.
Consistent assembly is what turns one correct sample into one correct batch.
4. In-Process Quality Control (IPQC)
IPQC is ongoing control. It is not a one-time checkpoint.
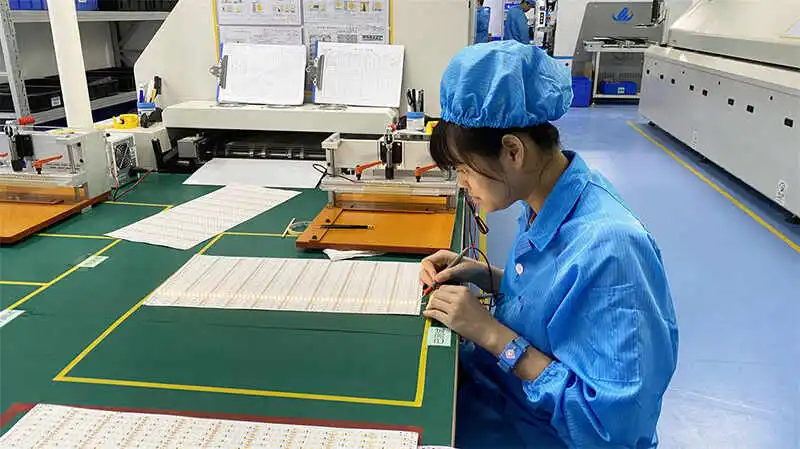
During production, we inspect SMT quality as well as key process details on the line. This includes checks on LED alignment, solder uniformity, and common soldering defects such as bridging, insufficient solder, cold joints, or weak solder connections. We also look at overall board condition, including contamination, scratches, or burn marks that may affect product quality later.
For products that involve sleeving, potting, or extrusion, we review those process conditions at the same time. The goal is simple: correct the process while the line is still moving.
Timing matters here. Problems found during production are still manageable. The same problems found after final assembly cost far more to fix and are more likely to affect the whole batch.
This is why IPQC is not simply about checking more often. It is about correcting the process while production is still moving, so quality can be held where it should be instead of repaired later at a much higher cost.
5. Semi-Finished LED Strip Testing
Before final assembly, semi-finished units go through a basic performance check.
At this point, the main structure and electrical sections are already in place. That allows us to test whether the product is developing in the right direction before it moves further.
We check soldering condition, component placement, circuit stability, and basic operating performance. This step helps us find hidden issues while correction is still easier and faster.
A weak connection or unstable circuit may look minor at this stage. Later, the same issue can affect the finished product and create much more complicated rework.
This checkpoint gives the production team an earlier chance to correct problems and protect final quality.
6. Finished Product Performance Testing
A strip is not ready just because assembly is complete. It still needs to prove that it works as a finished product.
This stage begins with a full lighting check to confirm that the entire strip powers on correctly, with no dead LEDs, dim sections, or flickering. Brightness uniformity across the full length is also reviewed, together with visible voltage drop from head to tail and overall color consistency between sections.
For functional LED Strips such as dimmable, tunable white, RGB, RGBW, or Addressale LED strips, function verification is equally important. Channel response, dimming performance, color-changing behavior, signal stability, and control accuracy all need to work as intended. Wire connections, soldered leads, connectors, and output ends are also checked to confirm reliable operation in actual use.
As for Waterproof LED Strips, it need one more level of attention. End caps, cable outlets, and sealing points are reviewed carefully to confirm that the waterproof structure is complete and properly finished. After potting or extrusion, the strip must still remain electrically stable, and the waterproof process should not negatively affect electrical performance.
Otherwise, We also inspect surface condition, cleanliness, workmanship, and overall finish. The goal is straightforward: confirm that the strip is complete, functional, stable, and ready for installation.
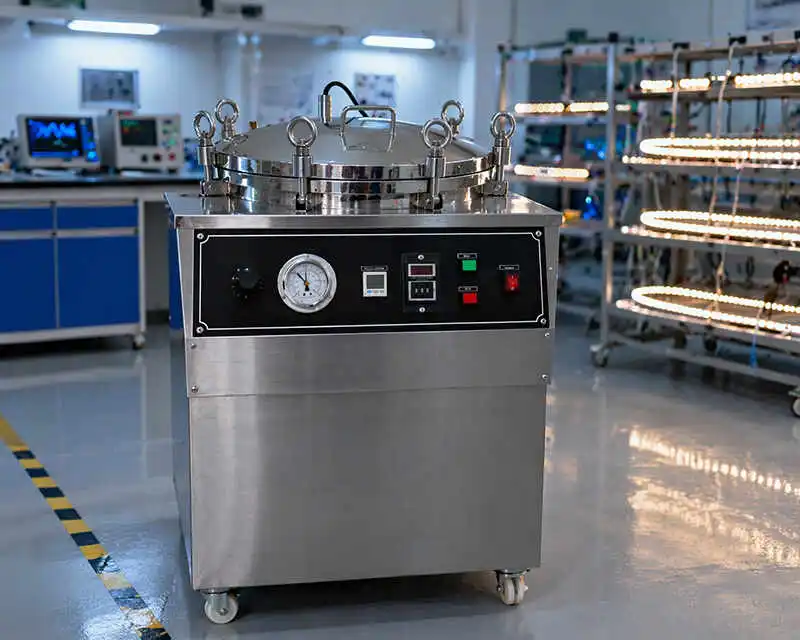
7. Waterproof Testing
For IP-rated LED strips, waterproof performance is not just a feature on paper. It is part of product reliability.
Different IP levels require different checks.
For IP65 LED Strips, we inspect the outer protective structure and confirm that it protects against dust and water spray.
For IP67 LED Strips, we carry out short-term immersion checks and examine end caps, cable outlets, and sealed joints closely.
For IP68 LED Strips, the requirements go further. We look for water ingress, bubbling, adhesive failure, abnormal light output, and possible circuit corrosion after immersion.
We also review the sealing system itself. That includes sealing material adhesion, bubbles in silicone or PU, extrusion consistency, end-cap strength, and whether cable exits are truly sealed.
Many waterproof failures do not start with the LED. They start with the sealing system. If that system fails first, the strip may still leave the factory looking normal but fail later on site.
8. Mechanical and Reliability Testing
Initial performance is only part of the story. Long-term stability depends on how the product handles stress after installation.
We run bending tests to see whether repeated flexing causes open circuits, cracked pads, or detached LEDs. Pull tests help us evaluate wires, connectors, and end caps. We also check adhesive performance, including initial tack, holding strength, and temperature resistance.
For outdoor and demanding projects, we add environmental checks where needed. These may include high- and low-temperature testing, salt spray testing, and UV weathering tests.
This part of the process answers a different question. Not “does it work today?” but “will it stay reliable after installation?”
That difference matters a lot in projects where replacement is expensive and failure is difficult to accept.
9. Aging Testing
Many LED strips light up when they are first completed. That alone does not prove stability.
Aging helps us screen out early-life failures before shipment.
Depending on the product type and application, strips may run under power for 4, 8, 12, or 24 hours. In some cases, we also apply higher temperature or full-load conditions.
During aging test, we watch for heat build-up, dead LEDs, flickering, color shift, unstable electrical behavior, and driver-related issues where applicable. These problems often appear only after several hours of operation.
Aging test is especially important for SMD LED strips, COB LED strips, waterproof LED strips, neon LED strips, Addressable LED strips, and high-voltage LED strips. These products place greater demands on heat management, structure, and electrical stability.
Aging test does not promise zero failure. It does help remove weak units before shipment and improve the stability of the full batch.
10.Photometric and Electrical Performance Verification
A datasheet is easy to print. Matching it in real production is harder.
That is why we verify the product’s actual photometric and electrical performance after it passes functional checks and aging.
Our team measures voltage, current, power, and, where relevant, power factor. On the optical side, we verify lumen output, luminous efficacy, color temperature, CRI, color consistency, and SDCM. For single-color LED Strips, we may also check wavelength. For products with special optical structures, we may also check beam angle.
Depending on the product and project requirement, we may use integrating spheres, goniophotometers, precision electrical measuring instruments, and controlled-environment testing equipment.
This step confirms that the values shown on the specification sheet match the actual product. It also gives customers a stronger basis for project approval, technical comparison, and product selection.
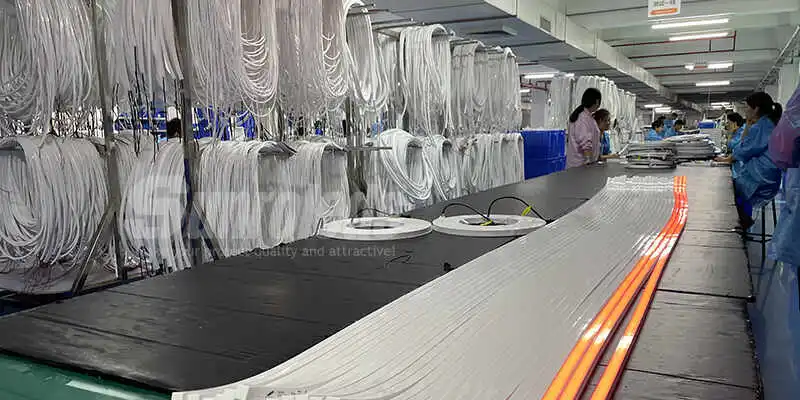
11. Final Product Inspection (FQC)
Before shipment, every order goes through final quality control as the last checkpoint before delivery. At this stage, the focus is no longer limited to basic product function. What matters is whether the finished goods match the approved order in all the details that affect delivery, presentation, and customer acceptance.
The inspection covers the overall condition of the finished product, including cleanliness, surface appearance, visible scratches, pressure marks, stains, and general workmanship. Product length is checked, labels are reviewed, and key information such as wattage, color temperature, model, and other identifying details are confirmed for accuracy. Packaging is also verified against the customer’s requirement, while accessories, carton markings, and order information are checked to make sure everything is complete and consistent.
A lighting check may still be included at this stage, but that is only one part of the review. The real purpose is broader: to confirm that the product being packed is the same product the customer expected to receive.
For customized orders, this step becomes even more important. Voltage, power, CCT, CRI, PCB color, IP rating, cable length, connector type, labels, and packaging details all need to be reviewed carefully against the approved specification. In custom production, small mismatches are often where the biggest delivery problems begin.
In practical terms, FQC are not simply about checking the product one more time. They are about confirming that the version being shipped is the exact version the customer ordered, approved, and is expecting to receive.
12.Pre-Shipment Audit (OQC)
Strong factories do not relax at the last step.
Even after final inspection, we may still carry out one more sampling review before shipment. We take random samples from different carton numbers and check them again. That may include another lighting check, another review of key electrical values, another packaging review, and another BOM comparison.
This final check matters because the last mistakes are often the most frustrating ones. A wrong label, mixed carton, missing accessory, or packaging error can damage trust even if the product itself is fine.
A process is only truly under control if the goods are still correct at the moment they leave the factory.
Conclusion
Good quality does not appear at the end of production. It starts much earlier and stays under control all the way through shipment.
At Sunroleds, our ISO9001:2015 quality management system and ISO45001:2018 management framework support that process every day. They help us keep quality control structured, consistent, and repeatable across production, inspection, and delivery.
That is what serious quality control really means. It is not just about passing inspection. It is about reducing risk, protecting performance, and shipping the exact version the customer approved.
![[Inside R&D] 9 Tests Every LED Neon Strip Must Pass at Sunroleds](https://www.sunroleds.com/wp-content/uploads/2025/03/parameter-test1-500x383.webp)